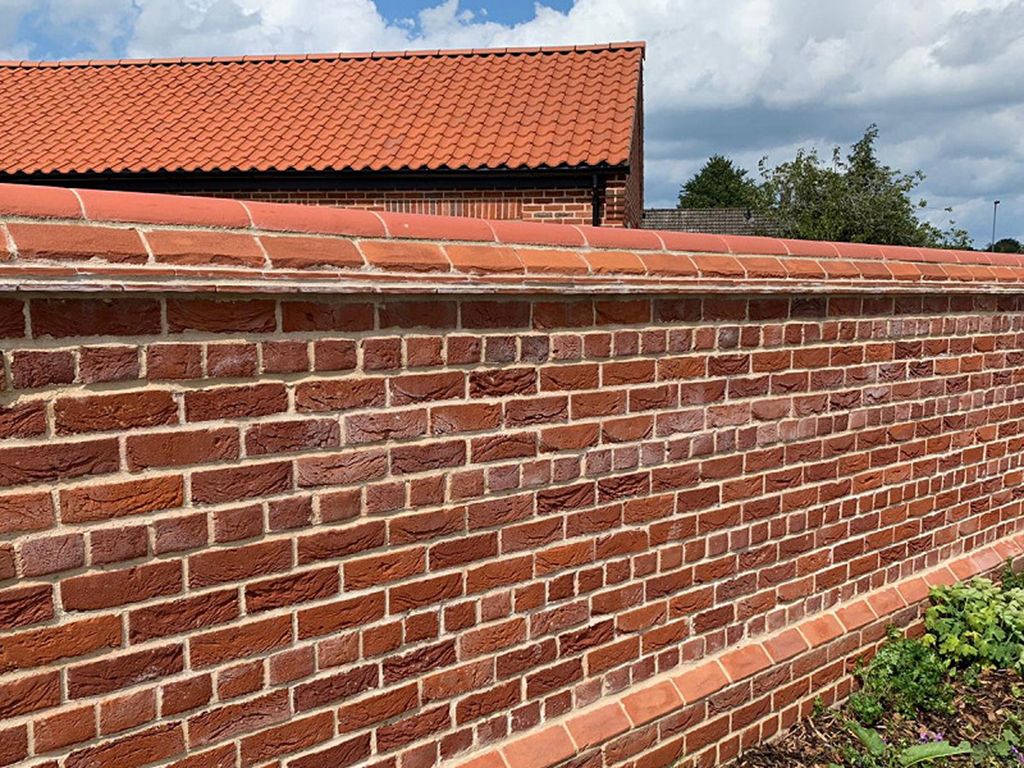
Building a brick wall might seem easy at first glance, but it requires a great deal of practice, patience, and the right technique to ensure its durability. Every step in the process, from laying a solid foundation to mixing the mortar just right, plays a vital role in creating a long-lasting and sturdy wall.
Whether you’re building a decorative garden wall or something more structural, the process demands careful attention.
For structural or load-bearing brick walls, hiring a professional is essential. However, if you’re looking to construct a simple garden wall or other non-load-bearing structures, DIY bricklaying is a wonderful opportunity to save money and gain valuable experience.
With some basic tools and a little patience, you can achieve a result you’ll be proud of.
Building a brick wall doesn’t have to feel overwhelming. If you’re wondering where to begin, we’ve compiled a simple step-by-step guide to get you started on your bricklaying journey.
Plus, if you’re unsure where to source bricks or materials, our team is always available to help you find the right bricks for your project, offering the best prices and reliable delivery.
Request a quoteMaterials you'll need
Make sure you have these items to hand before you get started:
⦿ Trowel
⦿ Hammer
⦿ Bolster
⦿ Spirit level
⦿ Tape measure
⦿ Shovel
⦿ Wheelbarrow
⦿ Bricks
⦿ String and clamps (or nails)
⦿ Dry bristle brush
How to do it
Step 1
Work out how many bricks you need
The first task is to determine how many bricks you will need. The size of the brick will vary depending on where you live, but a standard UK brick typically measures 215mm long x 102.5mm deep x 65mm high. Don’t forget to account for the mortar joint, which is usually 10mm thick.
To calculate how many bricks you need, measure the total area where the wall will be built. It’s important to avoid running out of bricks halfway through or over-ordering, which can be costly. As a general guideline:
⦿ For a single-skin wall (half-brick thick), you’ll need around 60 bricks per square metre.
⦿ For a solid wall (one-brick thick), you’ll need about 120 bricks per square metre. It’s also wise to order 10% extra to account for waste or breakage.
Step 2
Order your bricks...
... and come to Brickhunter first! We'll get you the right bricks delivered at the right price when you need them, so you can be confident in your wall before it's even built!
Once you've figured out how many bricks you need, it’s time to place your order. For those looking to match existing brickwork, consider using our Brick Matching service. Or if matching isn’t necessary, use our free Brick Selection service to find the right bricks that fit your project.
We'll get you the right bricks delivered at the right price when you need them, so you can be confident in your wall before it's even built!
Step 3
Prepare your foundation
A solid foundation is the key to any brick wall’s stability. The trench depth will depend on the size of your wall. For a wall that’s about one meter high, dig a trench roughly half a meter deep.
Start by driving wooden stakes into the ground along the perimeter of the trench. These will help you gauge the height of your wall as you build. The first row of bricks should sit directly on the foundation, flush with the top of the trench. Fill the trench with concrete, making sure it’s level, and allow it to cure for 2-3 days.
To recap:
⦿ Drive wooden stakes to find the optimal height for your bricks in your trench.
⦿ Spread the stakes 2-4 feet apart (depending on the length of your wall) and ensure they are completely level.
⦿ The first row of bricks should sit flush in the foundation.
⦿ Fill the foundation with concrete, making sure to keep it level and fill to the top of the stakes.
⦿ Leave it to dry for 2-3 days.
Step 4
Mark your guideposts
Once your foundation is in place, it’s time to mark the points where each brick row will sit. This is done by setting up gauging rods on either end of your wall, marking the height of your desired brick course on the rods, and running a string line between them to guide each row of bricks. Be sure that the string is straight and level to ensure a uniform finish.
Step 5
Mix your mortar
Next, you’ll need to mix the mortar. Start by following the manufacturer’s instructions for your chosen mortar mix. The mortar should be firm enough to hold its shape but soft enough to spread easily from your trowel. If you’re mixing it yourself, make sure to only prepare as much as you need at a time, as mortar can dry out quickly.
Soak your bricks in water before laying them, but allow them to drip dry to avoid excess water mixing into the mortar and compromising the bond.

Step 6
Lay your first brick
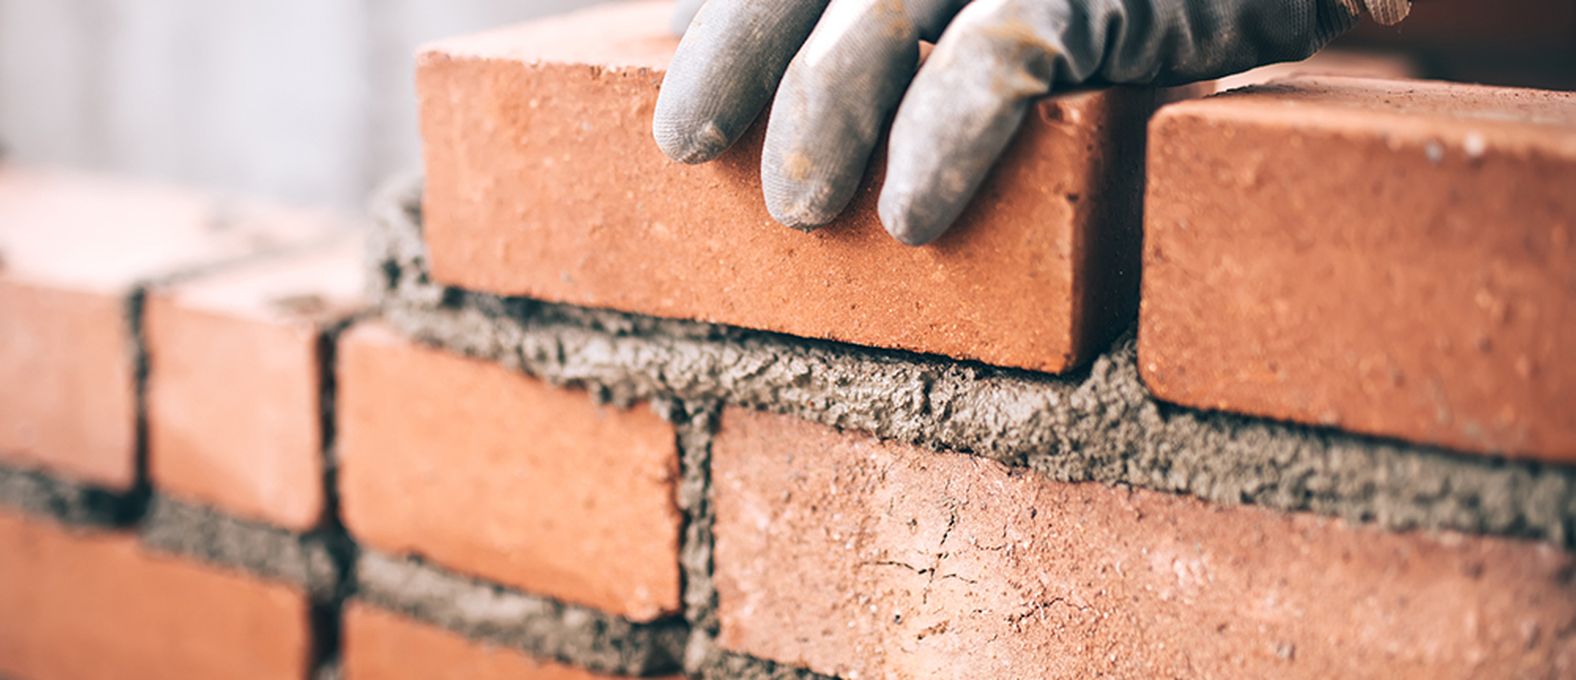
Once the foundation is dry, it's time to start laying bricks. Begin by spreading a layer of mortar on the foundation and using your trowel to create a "V" shape along the mortar. This will help spread the mortar evenly and create a secure base for the first brick.
Press the brick into the mortar and check it for level. Add the next brick, applying mortar to the short edge before placing it snugly against the first brick. Tap the brick into place with your hammer, and remove any excess mortar with your trowel. Repeat this process for the first row, making sure the mortar joints are consistent.
Step 7
Cut bricks for the next row
For added strength and stability, bricks should always be staggered in a brick wall. This means you’ll likely need to cut some bricks in half. You can do this by tapping firmly with a hammer on the middle of the brick or using a bolster and hammer to achieve a clean break.
Step 8
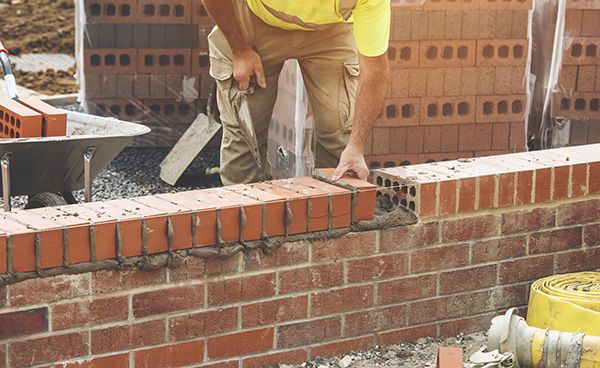
Repeat the process for subsequent rows
Once the first row is complete, continue with the next row, making sure the bricks are aligned properly and level. Remember to move your string line up with each new row to keep the wall straight and level. Continue laying brick after brick, making sure to keep a consistent mortar thickness and stagger the joints between rows.
Step 9
Finish your wall
After you’ve reached the desired height, it’s time to finish your brick wall. Depending on the purpose and design of your wall, you might choose different bonding patterns. A soldier course, for example, involves turning bricks vertically, which can add a unique touch to your project.
Once your last brick is in place, go over the wall with a soft brush to remove any excess mortar. You should also check for any gaps or weak spots and fill them with additional mortar. Cover your newly built wall with a tarp or plastic sheet to protect it from the weather, especially overnight.
Start building with Brickhunter
Building a brick wall is a rewarding project that, when done properly, can last for many years. Whether you're constructing a simple garden wall or a larger structure, following the right steps and paying attention to details will ensure a durable, beautiful result. Remember that while DIY bricklaying is an excellent way to save money, if you're ever uncertain about any step, don't hesitate to seek professional advice.
If you're ready for your next bricklaying project or need help sourcing materials, our range of services and expert team are here to guide you through the process, from matching bricks to ensuring you get the best price. Reach out today, and let us help bring your vision to life!